Project Overview
When a Bridgwater homeowner approached ST Lofts needing serious space for both vehicles and a dedicated home working environment, we knew this was going to be one of our most satisfying builds. The brief was clear: a brand new four-car garage from the ground up, with a fully insulated, plastered and finished loft office above. Ten weeks from breaking ground to handing over the keys.
Here’s how we did it.
The Brief
The client needed a substantial new garage building on their Somerset property with enough capacity to house four cars comfortably. Above the garage, they wanted a proper, functional home office. Not a storage room with a desk in it. A real working space, fully insulated, plastered, carpeted and warm enough to work in year-round.
The project required us to design and build the entire structure from scratch, including the concrete base, the block walls, the steel floor structure, the roof and the full internal fit-out of the loft office above.
Stage 1: Garage Base and Breeze Block Build
Every solid building starts with a solid base. We began by constructing the concrete garage base, ensuring it was level, properly drained and capable of supporting the full structure above. Once the base was set, we began building the walls using breeze block construction, bringing the garage up to full height and creating the shell that would carry the floor structure and roof above.
Breeze block is the right choice for a build of this type. It’s strong, cost-effective, thermally efficient and straightforward to work with, giving the structure a reliable, long-lasting foundation.
Stage 2: Steel Installation for the Floor Structure
With the walls up, the next stage was installing the steel framework that would carry the loft office floor above the garage. Steel was specified here rather than timber alone because of the span involved across a four-car garage footprint. The steels were positioned and secured to carry the floor load safely and provide a solid, rigid base for the joisting above.
Getting the steel installation right at this stage is critical. It determines the structural integrity of everything that follows, and it’s not something that can be corrected easily once the build progresses.
Stage 3: Joisting the Floor with 7×2
With the steels in place, we joisted the office floor using 7×2 timber joists, spanning across the steel framework below. 7×2 joists at this span provide a strong, stable floor that meets building regulations requirements for a habitable room and gives the finished office floor the rigidity you’d expect from a purpose-built workspace.
At this stage the skeleton of the loft office started to take shape above the garage space below.
Stage 4: The Roof Structure
The roof on this build was a two-part solution combining a cut roof to the rear with a flat roof dormer also to the rear, creating additional headroom and usable floor area in the office space above.
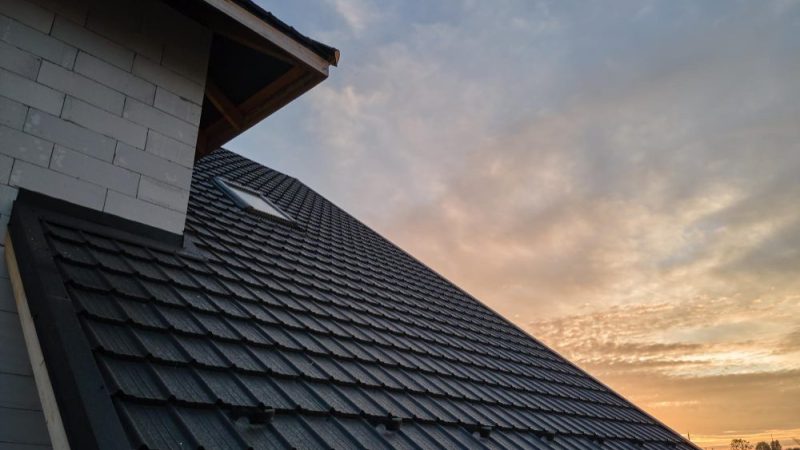
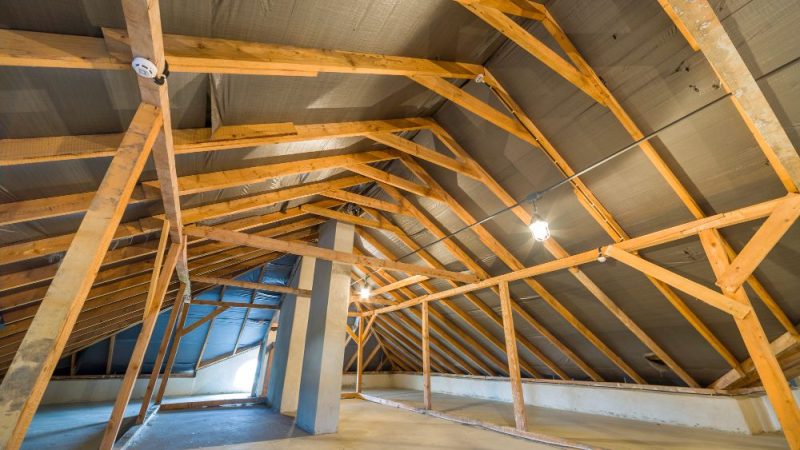
The cut roof was constructed on site using traditional methods, with rafters, purlins and ridge board built to suit the building’s dimensions and the required roof pitch. A complete new roof covering was installed across the full structure, weathertight and finished to a high standard.
The flat roof dormer to the rear extended the usable space in the loft office and allowed for additional window openings, bringing natural light into what would otherwise have been a more confined internal area. The dormer was clad externally to give a clean, finished appearance that ties the new structure together visually.
Stage 5: Insulation
A loft office is only as good as its insulation. Working above a garage, the thermal performance of the floor, walls and roof is even more important than in a standard residential conversion, because there’s no heated space directly below to provide residual warmth.
We installed full loft insulation throughout the office space, between and below the rafters, ensuring the room would hold a comfortable working temperature in winter without excessive heating costs. The insulation specification meets current building regulations requirements and gives the client a workspace that’s genuinely comfortable to use year-round.
Stage 6: Plasterboard and Plastering
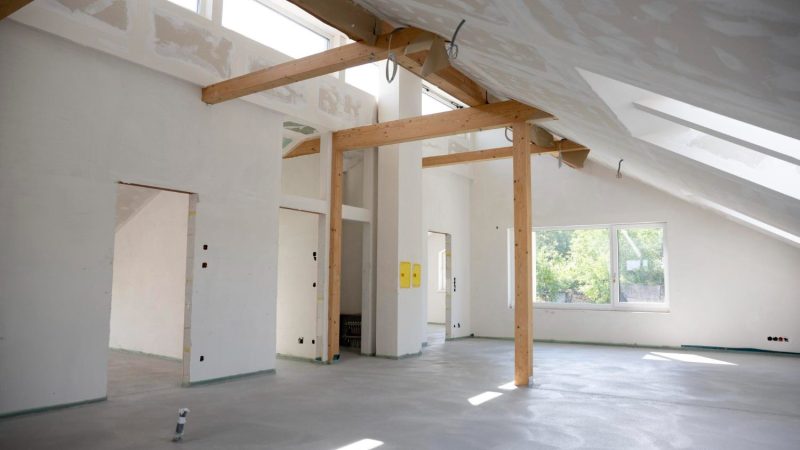
With insulation complete, we boarded the walls and ceiling of the loft office throughout, creating the smooth internal surfaces ready for plastering. All plasterboard was installed to the loft office, covering the rafters, the dormer cheeks and ceiling, and the gable end walls.
Plastering followed once boarding was complete, with the finished walls and ceiling skimmed to a smooth, ready-to-decorate standard. At this stage the office space transformed from a timber and insulation shell into a proper room, and the quality of the finished build became clearly visible.
Stage 7: Staircase Installation
Access to the loft office was provided via a purpose-built staircase rising from within the garage space below. The staircase was designed to make the most of the available space while providing safe, comfortable access to the office above, meeting building regulations requirements for rise, going and headroom throughout.
A well-designed staircase makes a real difference to how a loft office feels in day-to-day use. This one delivers on both practicality and finish.
Stage 8: Second Fix Carpentry
The final stage of the build was second fix carpentry, covering the installation of doors, door linings, skirting boards, window boards and all the finishing joinery that completes the room. Second fix is where the quality of a build really shows, and we take as much care at this stage as we do with the structural work that precedes it.
With second fix complete, the office was ready for the client to decorate and furnish to their own taste.
The Result
Ten weeks after work began, the client had a brand new four-car garage and a fully finished, fully insulated loft office above it. The garage provides generous covered parking for four vehicles with good internal height. The office above is a proper, year-round working space with natural light from the dormer windows, a warm and consistent temperature thanks to the full insulation package, and a finish that reflects the quality of workmanship ST Lofts brings to every project.
It’s one of the most comprehensive builds we’ve completed in Somerset, and one we’re genuinely proud of.
Project Summary
Location: Bridgwater, Somerset
Project Type: New garage build with loft office above
Garage Capacity: Four cars
Office Use: Home working
Roof Type: Cut roof with flat roof dormer to rear
Build Time: 10 weeks
Services Included: Concrete base, breeze block construction, steel floor structure, 7×2 joisting, cut roof, flat roof dormer, full roof covering, dormer cladding, full insulation, plasterboard, plastering, staircase installation, second fix carpentry
Thinking About a Similar Project?
Whether you need a garage with office above, a standalone loft conversion or any other loft solution across Somerset and the South West, ST Lofts are here to help. We offer free, no-obligation surveys and honest advice tailored to your property and your budget.
Book your free survey today and find out what’s possible.